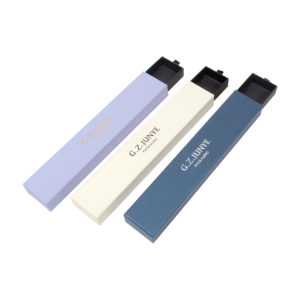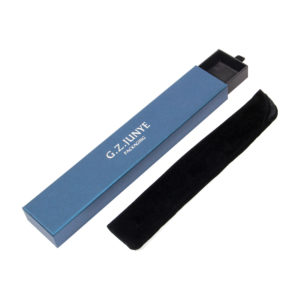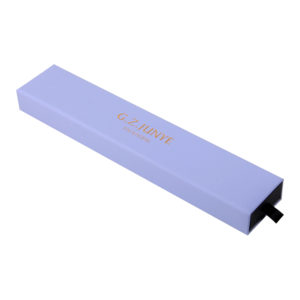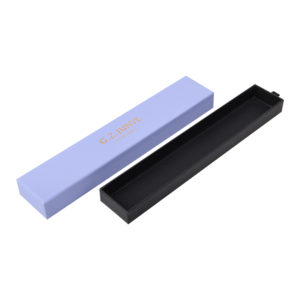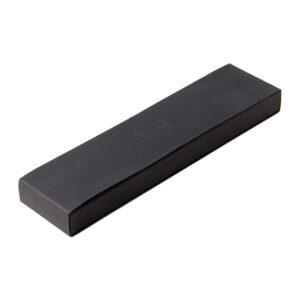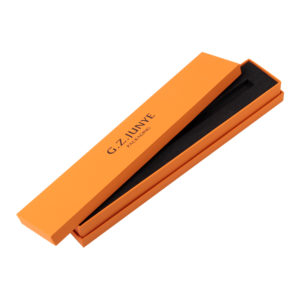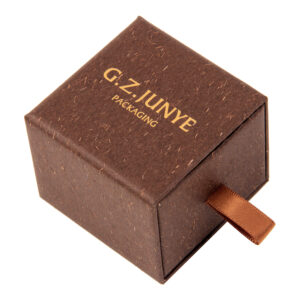
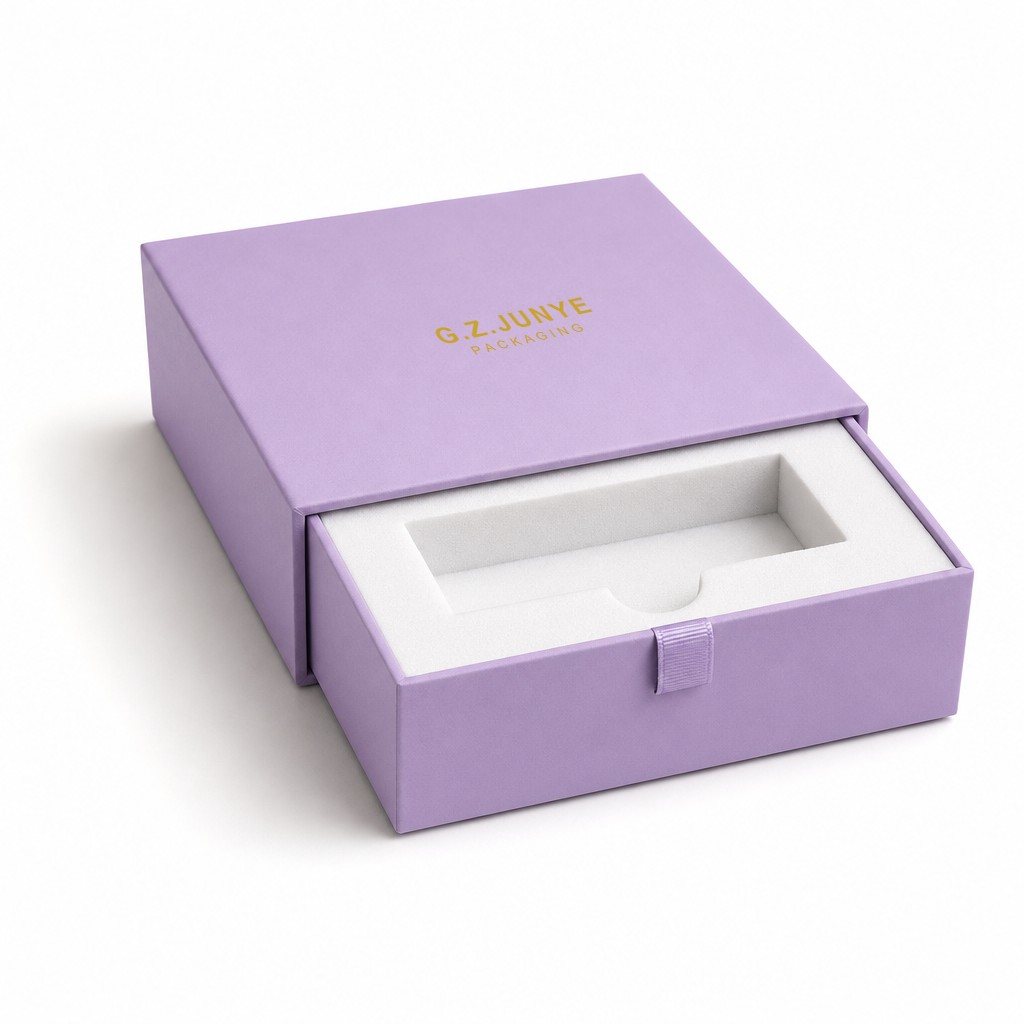
A sleeve and tray box is two pieces of board and paper: an outer sleeve that wraps five faces and stays closed at one end, and an inner tray that slides out of the other. This one measures 11 x 11 x 3 cm and is wrapped in matte purple paper. The question buyers ask first is about the seam, which is why a closed box of this kind shows one line at the end and nothing along the sides.
What a Sleeve and Tray Box Is
Two pieces, no hinge and no magnet. The sleeve is a wrap of board and paper; the tray is a shallow open box with a front face board. You hold the sleeve and pull the tray out through the open end. Put it back and the box closes itself, because the sleeve has only one opening and the tray can only go in one way.
That single-opening rule is the whole design. Everything else follows from it, including where the seam falls and why there is no fitting to align on the packing line.
Why the Sleeve Wraps Five Faces, Not Four
A sleeve is often drawn as a tube open at both ends. Ours is not: five panels, top, bottom, front, back and a closed panel at the left end, with only the right end open. The extra panel is what turns a tube into a box that is closed on all sides until you pull.
| Face | Covered by the sleeve |
|---|---|
| Top | yes, the print panel |
| Bottom | yes |
| Front | yes |
| Back | yes |
| Left end | yes, a closed panel |
| Right end | no, this is the opening the tray slides through |
It also settles a practical point. A tube open at both ends can be pushed on from either side and end up with the tray sitting proud at one end; a sleeve closed at one end cannot.
The Seam Is a Design Line, Not a Fault
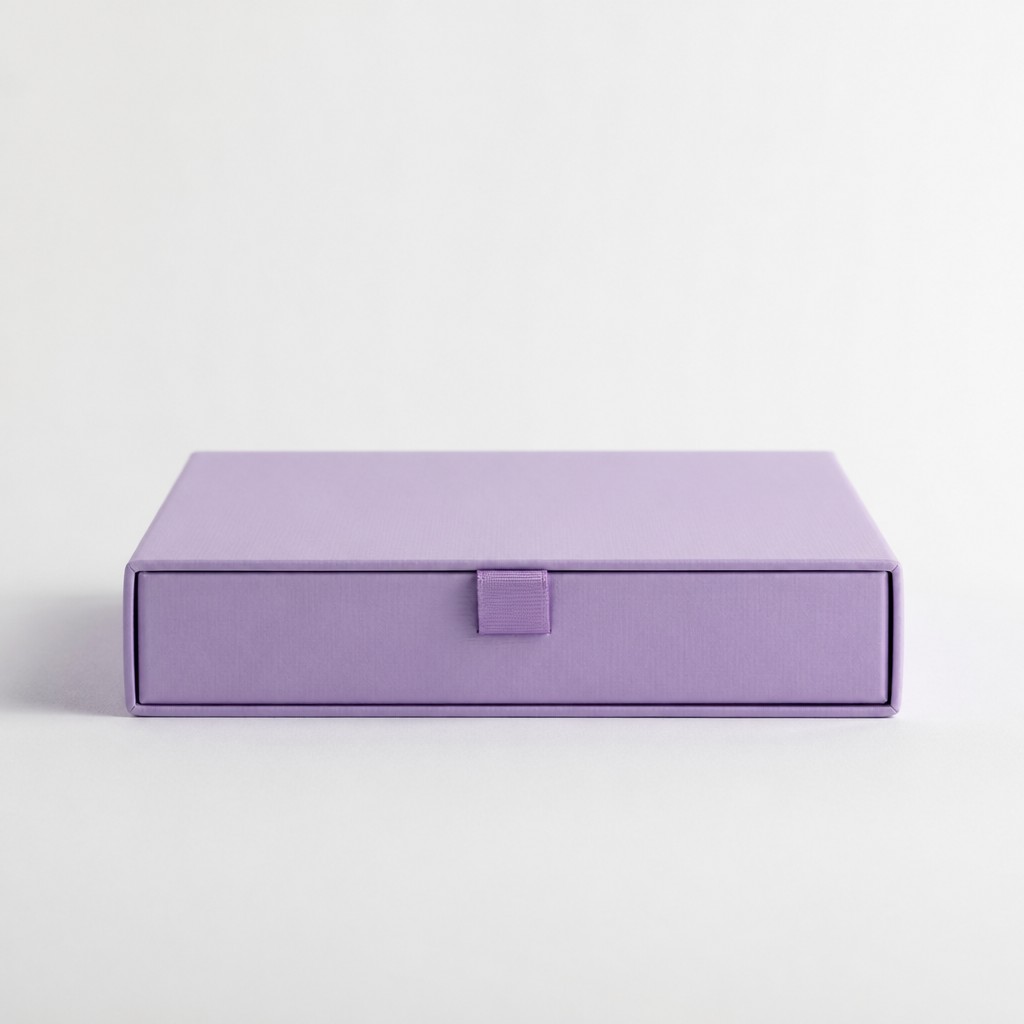
Shut, the box reads as one block. The line you see is the joint between the tray front board and the edge of the sleeve opening. It is straight because both boards were cut square, and it is fine because the wrap is turned in rather than folded over the outside.
Compare it with a lid that drops over a base. There the joint sits halfway down a wall and runs right around the box, so the eye reads two stacked halves. Here the joint is pushed to the end face, which leaves both long sides unbroken and gives the print a panel with nothing crossing it. On a box this small that matters: at 11 cm across, a line around the middle would cut the logo area in two.
What the Loop Does That a Notch Cannot
To open a drawer box you need something to pull. Three options exist: a notch cut into the front board, a folded paper tab, or a loop. A notch leaves a cut edge in the middle of a wrapped face, and that edge is where a wrap starts to lift. A tab stands off the face and bends in a carton.
The loop here is a short piece of the same purple paper, 8 to 10 mm wide, pressed into the inside of the tray face before the wrap is turned in. Only a small ring shows when the box is shut. It lies flat, so it adds nothing to the profile, and it cannot snap off because there is nothing rigid to break: the wrap holds it.
Reading 3 cm Against an 11 cm Side
Height is the number that decides what a drawer box is for. At 3 cm against an 11 cm side, the box is a little over a quarter as tall as it is wide. That is enough for a jar, a compact, a case of earbuds or a medal, and not enough for a bottle or a stacked tea set.
A flat box also changes the insert. The cavity has to be shallow, so the foam has to be cut level with the tray mouth rather than sitting below it; a product that stands proud would be pressed by the sleeve top every time the box is shut.
Foam Flush With the Mouth, and the Finger Notch
The insert is white foam, fine-pored, cut to fill the tray cavity and level with the wall mouth. It carries one main cavity with a step all round and a foam floor, a semicircular finger notch about 2.5 cm wide on the upper edge, and a lower opening that passes through the foam to the purple tray floor for a cable, a spare tip or a card.
Two details are worth checking on a sample. First, the foam should be flush, not proud and not sunk: proud means the sleeve presses on the product, sunk means the product moves. Second, the notch should be cut with a radius rather than a straight slot, so a fingertip gets under the item without levering against the cavity wall.
Where This Construction Stops Being the Right Answer
Three cases. If the product is taller than the box can be, a deeper tray with a lid that lifts is the better build. If buyers need to see the product without opening the pack, this is the wrong shape altogether and a different construction is called for. And if the box has to survive as the outer shipping pack, this is a retail pack: it needs a carton around it.
In every other case, the two-piece build is the cheaper and faster option, because there is no fitting to install and no alignment step at closing.
Send Four Things, and the Dieline Comes Back Free
Four things: the outside size you want, the product outline or a 3D file, where the notch and the accessory opening should sit, and the artwork for the sleeve top. With those, a dieline and a 3D mockup come back free within 1 to 3 days, a physical sample in 5 to 7 days, and bulk runs in 18 to 25 days. Stock sizes start at 300 pcs; a bespoke size or artwork starts at 500 pcs per size.
The box shown here is the 11 x 11 x 3 cm purple drawer box, and the wider range sits under drawer boxes. If you would rather handle the paper first, ask for a free sample.